
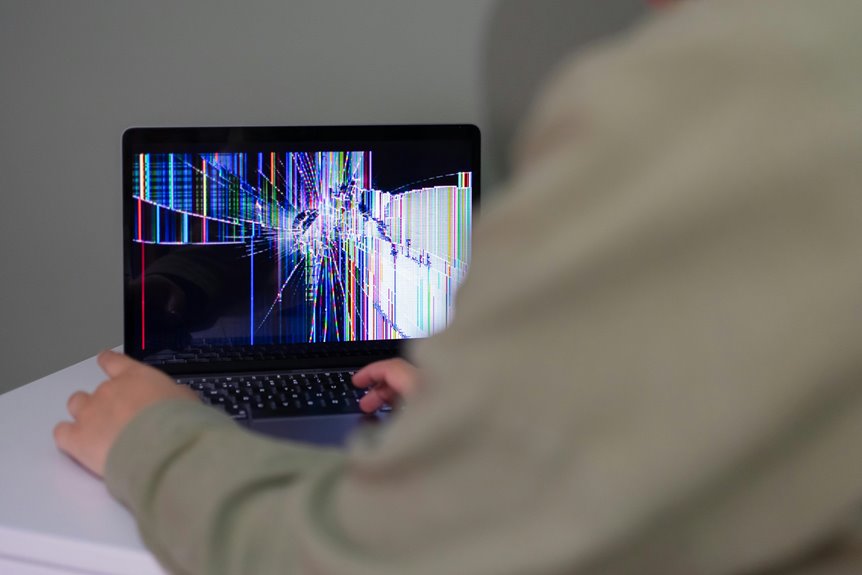
Your laptop can seem like it’s falling apart for a dozen different reasons, but you can usually narrow it down fast provided you watch once the symptoms start and whether they return after a reboot. You should compare normal startup with Safe Mode, check for battery, heat, and storage warnings, and monitor CPU, disk, and memory spikes. One clue will point to software; another might expose failing hardware.
What Are the First Laptop Trouble Signs?
The initial laptop trouble signs usually show up as slow performance, unexpected app failures, low battery life, or system warnings about storage, memory, or updates. You should treat these as an early warning that something’s drifting outside normal limits.
Watch symptom patterns: repeated freezes, delayed startup, missing responses, or alerts that return after reboot. If you notice the same issue across different apps, the problem likely isn’t isolated.
You belong with users who verify changes before failures spread. Check whether the behavior appears after updates, new installs, or heavy multitasking. Note which functions degrade first and whether the laptop recovers on its own.
That record helps you separate a temporary glitch from a persistent fault and points you toward the right diagnostic path.
Check Laptop Power and Battery Issues
Start with checking the power adapter for output, cable damage, and a secure connection at both ends.
Then verify the battery health status in your system or BIOS to confirm it’s holding charge and reporting normally.
Should charging still fails, inspect the charging port for looseness, debris, or physical damage.
Power Adapter Check
If your laptop won’t charge or keeps losing power, check the power adapter initially, then verify battery health in Windows Security’s Device performance & health page. Inspect the cable, brick, and connector for adapter wear, frayed insulation, bent pins, or heat damage. Confirm charger compatibility by matching voltage, amperage, and plug type to your laptop’s requirements; a mismatched adapter can trigger unstable charging or shutdowns.
Reseat both ends firmly, then test another wall outlet and, in the event available, a known-good adapter. Watch for charging LEDs, error messages, or intermittent power. Whenever the system only runs on AC or only on battery, observe the pattern and keep your team’s shared troubleshooting record updated. Consistent checks help you isolate the fault quickly and stay confident.
Battery Health Status
After checking the adapter, open Windows Security and review Device performance & health to see your laptop’s battery status, last health scan time, and any warnings about strain or reduced capacity.
You’ll spot whether the battery is holding charge normally or whether battery diagnostics flag wear that’s lowering runtime. Check the health summary for charge cycle health, because repeated full cycles can reduce capacity over time.
Should you see a yellow indicator, treat it as a diagnostic cue, not a failure. Close heavy apps, let the battery drain and recharge once, then rerun the scan to confirm the result.
In your troubleshooting group, this quick check helps you isolate power problems fast and keep everyone’s systems running with confidence.
Charging Port Inspection
With the laptop unplugged, inspect the charging port for looseness, bent pins, debris, or scorch marks, then reseat the adapter and watch for a stable power icon.
Should the plug wobble, you can have charging port wear, which can interrupt charging even while the battery is fine.
Use a flashlight to check for port connection debris, and remove it gently with compressed air or a nonmetal tool.
Test the adapter in a known-good outlet, then verify that the cable stays firmly seated while you move it slightly.
Should the icon flicker, the jack or adapter likely needs service.
You’re not alone here; this check quickly narrows power faults and helps your team decide whether to replace the charger, repair the port, or continue battery diagnostics.
Rule Out Software Problems First
Before you assume a hardware fault, rule out software problems first using checks for app failures, driver issues, pending updates, and unusual process behavior.
You can do that fast: open Windows Security, review Device performance & health, and confirm the last scan looks clean.
Then check installed apps for crashes, verify drivers in Device Manager, and run Windows Troubleshooter for known faults.
If you see warnings, install software updates immediately and restart.
Look for process conflicts in Task Manager, especially if one app keeps forcing another to stop.
A green status means you’re likely clear; a yellow mark means you should investigate.
Using isolation of software first, you and your team avoid chasing the wrong cause and move toward the real fix with confidence.
Spot Slow Performance and Freezing
When your laptop slows down or freezes, check real-time resource usage initially. Open Task Manager and compare task manager usage for CPU, memory, disk, and network. If one app spikes, end it and retest. Use Resource Monitor to read resource monitor trends over several minutes; steady saturation points to a process bottleneck or low available memory. | Metric | What to watch | Diagnostic meaning |
| — | — | — |
|---|---|---|
| CPU | 90%+ spikes | Process overload |
| Memory | Near capacity | Paging delays |
| Disk | 100% active time | I/O bottleneck |
Review startup items, then relaunch essential apps only. Should freezing continue, observe which action triggers it and match that pattern to the failing process. You’ll diagnose faster when you track symptoms, not guess, and your group can trust that methodical checks lead to clearer fixes.
Watch for Overheating and Fan Noise
When your laptop runs hot or the fan stays loud, check for blocked vents, dust buildup, and processes that keep the CPU under constant load.
You should feel the chassis near the exhausts; excessive heat and sustained airflow often point to cooling strain. Listen for changes in pitch, cycling, or grinding, since those sounds can indicate fan dust buildup or bearing wear. Watch for thermal throttling clues such as sudden slowdowns, lag after startup, or performance drops during light tasks. Use Task Manager or Performance Monitor to confirm high CPU use, then close the offending app or background service.
Should the problem persists, shut down, clean the vents, and run a full health check so you stay ahead of failures and keep your system in the group of reliable machines.
Identify Screen, Display, and Graphics Issues
If your screen flickers, blanks, or shows artifacts, treat it as a display or graphics fault.
You should check the graphics driver for corruption, outdated code, or a failed update.
If the issue persists, test with an external display to isolate the panel from the GPU.
Display Flicker Symptoms
Do you see a flickering display? You’re likely tracking a screen-level fault, not just an annoyance. Watch for brightness pulsing, brief blackouts, line jitter, or screen tearing during movement.
Should the image shift with angle changes, suspect backlight instability or a loose panel connection. Compare the flicker on battery and AC power; should it change, power delivery may be involved.
Run a built-in display test and observe the symptom starts, how often it repeats, and whether it affects the full panel or only one area.
You belong in a methodical workflow: record the pattern, isolate the trigger, and confirm whether the issue appears in BIOS, login, or Windows. That tells you whether the fault sits in the panel, cable, or system output.
Graphics Driver Problems
Is the screen glitching, freezing, or tearing in a way that points to the graphics driver rather than the panel itself?
You can verify it using watching for graphics artifacts during login, video playback, or window movement.
If the issue appears after an update, open Device Manager, check the adapter, and compare the driver date with the last stable build.
Run Windows Troubleshooter and inspect Device performance & health for related alerts.
If the symptoms started right after a change, try driver rollback to restore the previous version.
Also confirm Windows Update hasn’t queued a conflicting package.
Once you see other users reporting the same model behavior, you’re likely handling software, not hardware.
Capture the timing, then test again after reboot.
Find Hard Drive and SSD Warning Signs
Your hard drive or SSD will often give warning signs before it fails, and you can catch them by watching for slow file access, repeated app crashes, unusual noise from a spinning drive, or Windows reports about low storage and disk errors.
Watch for disk health alerts in Windows Security, and treat storage capacity warnings as imminent trouble, not clutter.
If your laptop hesitates when opening folders, stalls during saves, or freezes when launching apps, the drive might be struggling.
- Back up files right away.
- Check free space and SMART messages.
- Listen for clicks, grinding, or whine.
- Observe file corruption or missing data.
- Compare behavior after restarts.
You’re not overreacting; you’re spotting failure patterns prematurely.
Run Built-In Laptop Diagnostics
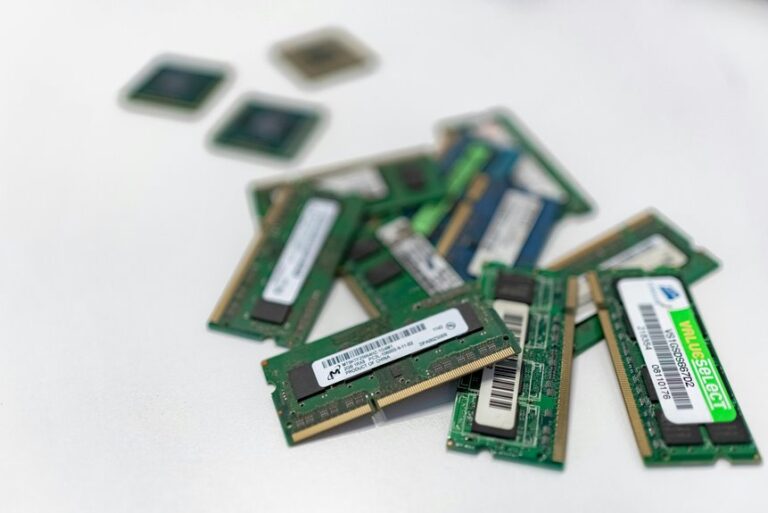
When built-in symptoms point to a problem, run Windows diagnostics to isolate the cause quickly. You’ll start with memory diagnostics to test RAM after a restart; this catches unstable modules that can trigger freezes, slow boots, or random reboots.
Next, use performance monitoring in Task Manager or Performance Monitor to watch CPU, memory, and disk load in real time. Whenever one metric stays saturated, you can narrow the fault to an app, driver, or failing component.
Check Device performance & health for recent alerts, battery strain, storage pressure, and update status. These tools help you stay in control with the same clear signals other tech users rely on. Run them regularly, compare results, and act on warnings before small issues spread.
Read Error Messages and Crash Codes
Error messages and crash codes often point you straight to the failing layer, so read them exactly as shown and record the full text, code, and timing. You’ll build a clean trace for crash message analysis and faster error code lookup. Match the code to the app, driver, or Windows component involved, then mention what changed right before the failure.
- Keep the exact wording.
- Capture every number and symbol.
- Mention repeat frequency.
- Compare with recent updates.
- Share the details with your support team.
When you stay precise, you help your troubleshooting group narrow the fault path fast. A clear log also separates one-off glitches from recurring defects, so you can move to the next diagnostic step with confidence.
Test Keyboard, Touchpad, and Ports
You should test each keyboard key for consistent input, missed presses, and stuck keys.
Then check the touchpad for cursor tracking, clicks, gestures, and edge response.
Finally, verify each port by connecting known-good devices and confirming power, data, and detection.
Keyboard Input Checks
Start with the keyboard, touchpad, and ports to isolate input faults quickly: test every key for missed or repeated strokes, confirm the touchpad tracks and clicks normally, and verify USB, audio, and charging ports recognize connected devices. When a key fails, check key mapping in settings and look for input lag that points to driver or scan-code problems. You’re not guessing; you’re confirming where the chain breaks.
- Press each key in a text field
- Watch for stuck or doubled characters
- Compare touchpad motion to pointer response
- Test hotkeys and function-layer behavior
- Reconnect devices to verify port detection
Should issues persist, update drivers, restart, and retest. Keep records so you can share clear results with your support team.
Touchpad And Port Tests
Provided the keyboard checks out, move to the touchpad and ports to confirm the laptop’s input and connection paths are working correctly. You should move the pointer across the screen, then test click, scroll, and multi-finger gestures to verify gesture responsiveness.
Open a document or browser and confirm taps register without lag, jumps, or missed input. Next, inspect each USB, audio, HDMI, and charging port with known-good devices. Should a device fails, reseat it, switch cables, and try another port to isolate the fault.
Watch for intermittent detection, loose fit, or no power, since these point to port connectivity issues. Should both touchpad and ports behave normally, you can rule out most local input faults and keep moving through the laptop as a connected troubleshooting team.
Check for Malware, Corrupted Files, and Updates
Before deeper hardware tests, scan for malware, verify system files, and confirm that Windows and your apps are fully updated. Run a full malware scan initially; concealed threats can mimic crashes, slowdowns, and random errors.
Next, use file repair tools to check protected system files and restore damaged ones. Then review Windows Update and app update status, because missing patches often trigger instability. You’re not alone here—these checks are standard, fast, and effective for any careful troubleshooter.
- Scan for active threats
- Repair corrupted system files
- Install pending Windows updates
- Update key apps and drivers
- Reboot, then retest symptoms
Should the issue disappear, you’ve isolated software cause and saved time.
Should it remain, you can move forward with clearer evidence and confidence.
Compare Safe Mode and Normal Startup
When the problem still shows up, compare Safe Mode with a normal startup so you can tell whether a third-party app, driver, or service is the trigger. In safe mode isolation, Windows loads only core components, so you can test whether the fault disappears.
Then run a normal startup comparison and watch for the issue to return when full drivers, startup apps, and services load. When Safe Mode is clean but normal boot fails, you’re likely dealing with a software conflict, bad driver, or startup service.
When both modes show the same symptom, keep narrowing the path with built-in diagnostics and recent changes. You’re not alone here; this check gives your team a clear split between core Windows behavior and added software layers.
Know When Laptop Hardware Is Failing
You can often spot failing hardware via unusual startup noises, like clicking, grinding, or repeated beeps.
Frequent unexpected shutdowns can indicate power, thermal, or storage faults, especially whenever they happen under light load.
Whenever your laptop’s performance drops sharply despite normal software conditions, treat it as a hardware diagnostic signal.
Strange Startup Noises
Whenever a laptop starts with grinding, clicking, or buzzing sounds, the hardware might be failing and the source is often mechanical or power-related. You’re not alone in spotting initial faults; listen closely and compare the sound to normal startup. A fan bearing noise usually points to wear, while BIOS beep patterns can signal memory, board, or graphics errors before Windows loads.
- Check whether the sound repeats each boot.
- Observe whether it changes after the logo appears.
- Inspect vents for dust or obstruction.
- Confirm the adapter and battery seat firmly.
- Record any beep code sequence for diagnosis.
Should the noise fades after startup, the part may still be stabilizing, but persistent startup noise deserves prompt hardware inspection and backup.
Frequent Unexpected Shutdowns
As a laptop shuts off without warning, treat it as a serious hardware or power fault, not just a glitch. You’re likely handling unstable power management, a failing battery, an adapter that can’t sustain load, or thermal shutdowns triggered by overheating.
Check whether the charger stays connected firmly and whether the battery reports abnormal wear in Windows Security’s Device performance & health view. Run Windows Performance Monitor to watch CPU spikes and temperature-related stress, then inspect vents for dust or blocked airflow.
Should shutdowns happen on battery and AC, the issue might sit deeper in the motherboard or power circuitry. You’re not alone here; these failures usually leave clear patterns. Record whenever each shutdown occurs, compare them, and back up your data before testing further.
Visible Performance Decline
Upon a laptop starts feeling slower, louder, or less responsive over time, treat that change as a diagnostic signal, not just aging hardware. You can spot failing hardware through watching performance metrics: CPU spikes, memory pressure, disk latency, and fan noise. Check Windows Performance Monitor, Device performance & health, and Windows Memory Diagnostic to isolate resource bottlenecks before they worsen. Whenever apps freeze, boot times stretch, or battery life drops sharply, your system may need deeper testing.
- Run a memory test after backing up data.
- Watch disk space and health warnings.
- Compare normal and stressed CPU usage.
- Observe sudden fan noise or heat.
- Use third-party tools for deeper component checks.
When warnings cluster, you’re not overreacting—you’re protecting your system and your workflow.
Choose the Next Troubleshooting Step
When Windows shows a green check in Device performance & health, you can rule out major issues and move to basic maintenance; if it shows a yellow warning, address the flagged area first. Next, run memory diagnostics and system health checks before deeper tests. This keeps you with the team of informed users who catch faults early.
| Check | Action | Why |
|---|---|---|
| RAM | Run Windows Memory Diagnostic | Finds memory faults |
| Disk | Review storage capacity | Clears low-space slowdowns |
| Apps | Check updates and failures | Spots software conflicts |
If the warning points to battery, storage, or apps, follow that lead. Close extra programs, back up data, then rerun the scan. If the issue persists, use Performance Monitor or a third-party tool for deeper analysis.
Frequently Asked Questions
How Do I Use Windows Memory Diagnostic?
Open Windows Memory Diagnostic by searching for it, then choose Restart now and check the results after the computer restarts. It tests your RAM without needing any bootable diagnostic option.
What Does a Yellow Health Mark Mean?
A yellow health mark means there is a warning, not a failure. It shows a hardware status icon has flagged an issue that needs attention. Check battery alerts, updates, storage, or drivers before the problem gets worse.
Can Windows Performance Monitor Show RAM Spikes?
Yes, Windows Performance Monitor can display RAM spikes on its graphs. You can see abrupt jumps in memory use and inspect the related counters to identify what triggered them. The interface may look steady even when memory usage changes sharply, which helps you investigate the issue efficiently.
How Often Should I Run System Health Scans?
Run system health scans once a month and again after crashes, updates, or changes in performance. This monthly maintenance routine helps you identify RAM, storage, driver, and battery problems early.
Is Scancircle Safe for Anonymous Diagnostics?
Yes. ScanCircle is built for anonymous scan privacy, so you can use it as a safe diagnostic tool. It gives you hardware, software, and security checks without collecting personal data, so your information stays private.